Wednesday, August 31, 2011

Cinnamon Crunch Cookies


Okay, this wouldn’t be a food blog without the occasional tasty treat, and I definitely have a sweet tooth that requires conquering. If you were to look at my culinary background, you would find that I was primarily a baker but not really a cook. I'm sure I could come up with a million (okay maybe not THAT many) excuses as to why; but the simplest answer would be, I like sweets. Don't get me wrong, I understand all good things in moderation and I'm all for healthy eating/cooking habits. Yet sometimes you don't want healthy. Sometimes, you need something filled with owey goey goodness.
When creating these cookies I had a very specific taste in mind. I wanted to capture something that I loved in my "wheat eating days" but hadn't been able to find in recent years. For you gluten eaters, I'm talking about the cinnamon bread sticks found at such pizza chains as Papa Johns, Pizza Hut, Mr. Gatti’s, Chuck E. Cheese, CiCi's Pizza, etc. To me, these cookies come pretty close to satisfying that craving. What's even better? These cookies aren't packed with the same amount of fat, carbs, and calories that you would find in a typical cinnamon bread stick.
Some of the best features of this recipe: quick, easy, little prep time, minimal baking time, your kids can help, no mixers, no waiting for yeast to rise, no separating of egg yolks, you can eat them without or without icing, and they can be made in advance of dinner parties, outings, or functions. 

Cinnamon Crunch Cookies
w/Icing

Cinnamon Crunch Cookies
(makes 24 cookies) 
3 corn tortilla shells
1 cup sugar
4-5 TBSP cinnamon
1/2 stick butter
Icing Drizzle
1/2 cup powdered sugar
3 tsp vanilla extract

1. Preheat oven to 400 degrees
2. Place three tortillas on a plate and microwave for 25 seconds. Remove from the microwave and cut stack of three into 8 triangles.
Preheated and cut corn tortillas
Step 2
3. Place 1/2 stick of butter in a bowl and melt in microwave. In a separate bowl, mix the sugar and cinnamon together.
Butter and Cinnamon
Step 3
4. Spray a non-stick cookie sheet with cooking spray. Create a mini assembly line starting with your tortillas, melted butter bowl, sugar & cinnamon combo bowl, and ending with the cookie sheet.
5. At this step, I suggest designating a butter hand and a cinnamon sugar hand as this part can get a little messy. Using your butter hand (likely your left hand), dip the tortilla triangle in the melted butter making sure to cover both front and back. Drop in the sugar mix. Using your sugar hand (likely right hand), cover the buttered triangle on both sides. Place fully dipped tortilla on cookie sheet. Repeat on 17 remaining tortilla chips.
Cookies coated and ready to pop in the oven
Step 5
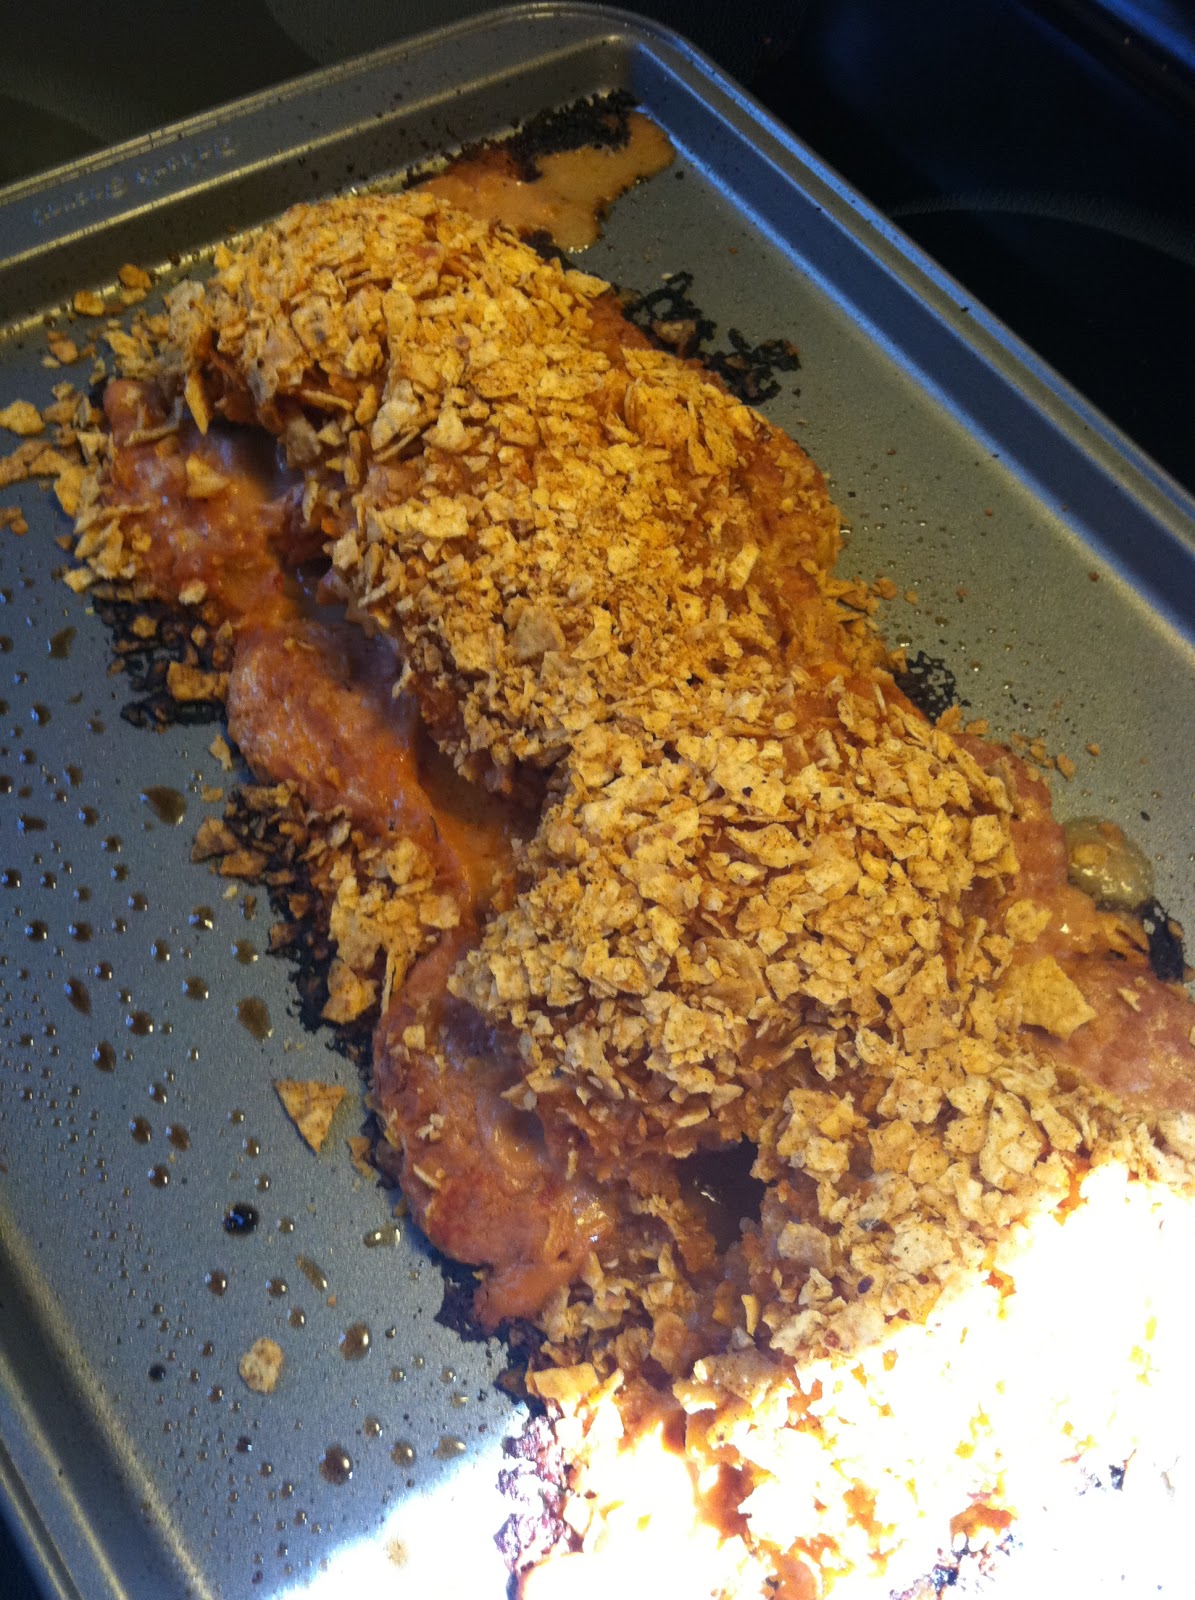
6. Bake in oven for 5 minutes. Be careful to NOT over bake. You will notice that some of the mixture ran off the cookies and formed in the cookie sheet. This is normal and will easily break off when removing the cookies from the sheet (which you want). Discard the excess that accumulated in cookie sheet.
Fresh out of the oven. The excess will flake off
the cookies when removed from sheet.
Step 6
7. Remove cookies from sheet and place on serving tray, cooling rake, or plate to cool. Allow cookies to cool for 20- 30 minutes BEFORE serving. If you eat these straight from the oven they will be extremely chewy and we want them crunchy. Optional: Drizzle the top with my quick and easy icing (recipe followed below).
Cookies removed from pan to cool
before applying icing.
Step 7
Icing
1. Mix 1/2 cup powdered sugar and 3 tsp of vanilla extract together in a bowl. Mix until perfectly blended with no chunks of sugar left. If you believe the mixture is still too sweet add TINY amounts of vanilla and mix well. Drizzle over cookies. Enjoy!

String Carrots


This recipe is extremely simple and is the basis of my “spaghetti alternative experiment”. I am working on finding ways to make food like spaghetti in both taste and texture without actually being high in fat and calories like traditional pasta. Oh and I’m a little obsessed with peeling things. I find it fun!!! I know, weirdo!
These carrots are great hot off the stove or cooled, and are perfect as a snack or a great side dish.
String Carrots
seasoned w/Peppercorn

String Carrots
3-4 medium whole carrot stalks
pinch of salt
pinch of peppercorn
splash of olive oil

1.     Using a peeler, cut your washed carrots into even long strips cutting from the top of the carrot to the bottom. You will likely end up with a piece of carrot about an inch thick that you can’t seem to get any additional strings from and this is OK. Cut it into 3 or 4 chunks that we will throw in the skillet with the carrot strings. This will help retain the carrot taste through cooking.
2.     In a medium skillet, heat about 1/3 cup of water over medium heat. Add your carrots including the stalk chunks. Use a pinch of salt and peppercorn to season your carrots. Continue to heat over medium heat, turning occasionally, for approximately 5-8 minutes. The longer you cook it the softer the consistency will become. You want them to be “al dente” like noodles but cook them to your preferred consistency. The water should mostly be evaporated into the carrots when they are done. If not, drain them to get out the excess water.
3.     Drizzle olive oil over top. Enjoy.

Tuesday, August 30, 2011

Stuffed "Taco" Chicken


I have a confession, I really do enjoy cooking. The more I do it, the more inspired I feel. In the beginning though, I really thought there was NO way I would be able to continue to come up with new things to try but I was SO wrong. It seems to occupy my time even when I don't realize that I am consciously thinking about it. Granted, I do spend a lot of my "free time" watching cooking shows, researching online, and reading magazines and articles about food. I really am finding that I have a passion for doing this and for someone who has always found it hard to say "my hobby is", this is pretty big for me. Not only is it a necessity of life but its fun for me. 
That being said, I only have one piece of advice for you; don't be afraid to try something new and don't be afraid to make mistakes. I have definitely made many in the kitchen but thankfully nothing ever major, and it can get discouraging when things don't turn out. However, this can be said for all things in life and not just cooking. I'm finding that my eyes are opening up to many other possibilities in life, even those outside the kitchen. I think my willingness to relinquish some of my "control" and just go with the flow has lead me to adjust my approach to many things in life. Who thought cooking could inspire spiritual growth too, huh?!

So enough of my babbling about my new and latest obsession that is cooking, continued below is my recipe for Stuffed "Taco" Chicken. I hope you enjoy it as much as I did. 
Stuffed "Taco" Chicken

Stuffed “Taco” Chicken
(Each chicken is approximately only 280 calories with 4 grams of fat)
4-8 TBSP pizza sauce
1/2 cup fat free refried beans
3 laughing cow cheese wedges (swiss or soft white cheese) (room temperature)
1/4 cup fat free Mexican cheese assortment (moneterey jack, cheddar, queso & asadero)
16-18 white or yellow corn baked tortilla chips
1 tsp taco seasoning
4 chicken breasts frozen or thawed
Look at that JUICY chicken breast!
 
Topping:
1. Place 16-18 tortilla chips in a freezer bag and crush into fine pieces. Don’t over process, you don’t want sand, but the smaller the pieces the better it will stay on the top of the chicken. Add 1 tsp of taco seasoning to the crushed chips and mix well. Set aside.
Stuffing:
1. In a medium sized bowl combine 1/2 cup of refried beans, 3 laughing cow wedges, 1/4 cup Mexican cheese assortment and mix well. Set aside.
Chicken breast:
1. Most conventionally sold chicken breasts are thick and small. We want our pieces to be long and skinny. Not paper-thin but the longer the pieces are the easier it will be to “roll” the chicken with the mixture. Your ideal length is about 2-3 inches wide and 3-4 inches long with a density of 1 inch or less. Using a meat tenderizer work your chicken into roughly this measurements IF your meat doesn’t already meet this requirement. If you happen to have pre-flattened chicken, I would suggest that you still use a meat tenderizer on the meat a few times. Not enough to change the overall consistency but enough to “open” the pores of the meat, which will help to retain the chicken's moisture. After tenderizing, lightly salt and pepper the chicken on the side that you will place your bean/cheese mixture on.
Putting it all together.
1. Preheat oven to 350 degrees.
2. Spray a cooking pan with non-stick cooking spray. Then place about 1 TBSP of your beans/cheese mixture in the center of your chicken breasts. (roughly distribute the mixture evenly among your breasts).
3. Take the end of your chicken and roll over the mixture until you have completely “rolled” the chicken. Place the chicken breasts side-by-side in the pan placing the “fold” of your chicken on the pan surface or the "bottom". This will help keep the chicken in place and rolled as it cooks.
4. Taking 4-8 TBSP’s of pizza sauce generally cover the top surface of all the chicken breasts, evenly distributing the sauce amongst the four. Top the breast with your seasoned tortilla chips.
5. Cover chicken with foil and bake in the oven for 20 minutes. Then remove foil and continue to cook uncovered for a remaining 15 minutes. This allows the topping to get nice and crunchy. Remove from oven, best served warm. Enjoy!
These chicken breasts are surprisingly filling and I didn’t feel the need to pair it with any other dishes, however, a simple serving of any vegetable would also work. 

Fresh out of the oven. They look liked a clumped mess
but rest assured they separate easily.
*** Inspired by Food Network's Lisa Lillien, host of Hungry Girl, and her recipe for Nacho Stuffed Chicken***

Monday, August 29, 2011

Flour-less Chocolate Cake


This flour-less chocolate cake is perfect for gluten free dieters and the chocolate lovers alike. It is very rich and a little goes a LONG way. You can also add in raisins and nuts to make a nice little “addition” to the flavor palate.

Flour-less Chocolate Cake w/Raisins
served w/ Vanilla Ice Cream

Flour-less Chocolate Cake
1/2 cup of finely chopped semi sweet chocolate
1 stick of butter
3/4 cup of sugar
3 eggs
1/2 cup unsweetened cocoa powder
Optional ** 1/4 cup raisins or walnuts

1. Preheat oven to 375 degrees and butter an 8-inch round baking pan. Line the bottom of the pan with wax paper and butter the pan. (will make removal and clean up REALLY easy)

2.  In a double boiler or using a metal bowl set over a saucepan of barely simmering water melt the chocolate with the stick of butter, stirring until smooth. Remove metal bowl from heat and whisk in the sugar. Then add in one egg at a time until completely blended. Sift in 1/2 cup of cocoa powder and mix well.

3.Pour batter into your buttered pan and place in the oven for 20-25 minutes or until the top has formed a thin crust.  Remove from pan and cool on a baking rack or on room temperature plate for approximately 5-10 minutes. You can lightly dust the top of the cake with additional cocoa powder or with powdered sugar.

4.  Best served with ice cream. Vanilla or light flavored sorbets (orange, lime, lemon, etc). Enjoy!

Green Tea Salmon Marinade w/Boiled Carrots


This one is quick, easy, healthy, filling and it only takes an hour to marinade and 20 minutes to cook.
Green Tea Salmon Marinade w/ Boiled Carrots


Green Tea Salmon Marinade with boiled carrots
1-2 Salmon Fillets fresh or thawed
3 green tea bags
bottle of lime extract (you'll only use a few TBSP)
lemon
½ cup pancake syrup
3 sticks of carrots

1. Bring water to a boil making sure you have at least 1 cup’s worth for your marinade. Take three tea bags and place in a mug with 1 cup of boiling water and cover for about 5 minutes. Move hot/warm (not cooled) tea to freezer safe bag and add 1 TSP of lime extract and about a 1/4 zest of a lemon. Place salmon in the bag and let marinade in the fridge for about an hour but no longer than an hour and a half, as you don’t want the proteins in the salmon to break down and turn into mush.

2. Rinse your 3 carrot sticks with water and peel length-wise leaving you with long carrot strips. Bring a pot of water to a boil and salt the water. Add carrot strips and boil for 5-8 minutes but DO NOT over cook the carrots or they will turn to mush. Drain and set aside.
Carrots peeled

3. Remove marinated salmon from the fridge. Heat a non-stick skillet over medium heat. Spray with cooking spray and cook your salmon until the fillet “flakes” easily and is cooked thoroughly.  Discard salmon marinade. Do NOT use when cooking the salmon. In a separate small saucepan bring to medium heat and add 1/2 cup of pancake syrup, 1 tbsp lime juice, and the juice of one half of a lemon. Stir ingredients until the sauce thickens, remove from heat and generously cover cooked salmon with syrup.

4. Plate cooked carrots and set glazed salmon on top. Enjoy.

Wednesday, August 17, 2011

Raisin Infused Baked Apples


Can I scream YUMMY? These apples are perfect for transitioning into the fall and winter season. Their warm cinnamon smell and soft yet spicy taste will get you primed and ready for all the seasonal festivities. These apples are great as a quick treat for you, your family and friends, or Halloween, Thanksgiving, Christmas; the list goes on and on. The best part of all, they don’t really take that much work and anyone, regardless of your baking ability, can make them.

Before we get started I would like to note that it’s best to have an apple corer but is not impossible. I completed these without having one, just be cautious on your first apple. The core flew out of mine and hit me in the face. Ha-ha! Luckily, I was wearing glasses at the time so no harm to foul.
Raisin Infused Baked Apples
(Serves 4-8)
4 baking apples (Golden Delicious or Jonagold)
1/3 cup brown sugar
½ cup raisins**
1 ½ tsp cinnamon
butter
¾ cup boiling water
**Unless you want to add nuts (pecans/walnuts then you will want to do 1/3 cup of each)
1.     Preheat oven to 375 degrees.
2.     In a small bowl combine brown sugar, cinnamon, and raisins (and nuts if used). Mix together.  Set aside.
3.     Get a small pot of water boiling (enough to extract ¾ cup)
4.     Wash apples and remove cores. It is easiest to do with an apple corer but can also be done using a paring knife and a tablespoon. Gently cut and remove the core and remove all seeds. The opening of your apple should be no longer than ¾ to 1 inch wide. 
5.     Equally stuff the raisin/brown sugar mixture into the apples. Top the apples with a slab of butter (1/4 of the tbsp).
6.     Place apples into a 8 by 8 inch square baking pan and pour ¾ a cup of boiling water into the bottom of the pan.
7.     Bake 30-40 mins or until the apples are tender but not mushy. Remove apples from oven and baste the apples several times with the pan juices.
Serve warm with vanilla ice cream. Enjoy.

Cored Apple - Step 4

Cored Apples in Pan - Step 4

Stuffed Apples - Step 5
Step 7 - Baste Apples w/pan Juices
Serve with Vanilla Ice Cream. Enjoy!
 

Tuesday, August 16, 2011

Lemon Parmeggiano Pasta


LEMONS, LEMONS, LEMONS….Oh even as I write this my mind races with the possibilities. Until this past week I had not worked with fresh lemons; actually, I hadn’t really worked much with fresh non pre-made packaged foods. I love the smell of freshly grated lemon zest. I can not take full credit for this recipe as it is a close adaption of “spaghetti limone parmeggiano” as found in Gwyneth Paltrow’s “my fathers’s daughter” cookbook. I did make slight adjustments to the preparation and ingredient levels. This is definitely one of my favorite summer pasta dishes. 

Lemon Parmeggiano Pasta

Lemon Parmeggiano Pasta
(serves 4)

1 lemon
3//4 box of pasta (spaghetti, elbow, macaroni, etc)
1 cup grated Parmesan cheese
½ tsp ground peppercorn (or ground pepper)
handful of basil (fresh or dried)
pinch of salt
1.     Bring water to a boil in a medium pot add salt and oil to “season” the pasta and help keep it from sticking. Strain pasta but retain about a cup of the pasta water. Place strained pasta back into pot.
2.     In a large bowl, grate the zest of the lemon. Then cut the lemon in half and squeeze the juice from the lemon into the bowl.  Add the peppercorn, salt, and Parmesan cheese with the lemon juice mixture and mix thoroughly. Add in about 5 teaspoons of pasta water to the mixture.
3.     Over low heat, mix together the pasta and lemon mix and stir until the cheese is melted.  (should only take a minute or two. Our goal is NOT to cook the pasta but to melt the cheese)
4.     Enjoy!

Chocolate Cheesecake Crumble


This is an extremely rich tasting cheesecake. Not only is this recipe easy to make it's also extremely versatile. If you don’t want a crust then don’t cook the crust and only prepare the filling. If you don’t want to make your own piecrust and do not follow a GF diet, you can substitute with a store bought crust.
Gluten Free Chocolate Cheesecake Crumble

Chocolate Crumble Crust
1 cup of finely ground corn Chex  (substitute Graham cracker if not on a GF diet)
½ cup finely ground semi-sweet chocolate morsels
1/3 c solid butter
1.     Lightly butter the bottom of a 9 inch round nonstick baking pan.
2.     Mix Chex and chocolate together in a bowl. Combine 1/3 solid butter until well blended.
3.     Press mixture into the bottom of the pan. Try to make as even as possible but do not “over” press as this will remove the moisture from the mixture that we want to retain.
4.     Cover with csaran wrap and place in the freezer for at least 2 hours. We want to make sure all of the ingredients freeze together to create a consistent tempature for baking.
Gluten Free Chex and Semi-Sweet Chocolate Crust
Chocolate Cheesecake Crumble (filling and assembly)
2 8 oz packages of Cream Cheese
1/3 c sugar
2 eggs
½ tsp vanilla extract
1.     Preheat the oven to 350 degrees. Once ready, place your frozen crust in the over for 7-12 mins. Remove crust from oven.
2.     In a large mixing bowl combine the cream and sugar. Mix thoroughly adding in one egg at a time. Add the vanilla after eggs are mixed and make sure the entire mix is even consistency.
Uncooked Cheesecake Filling
3.     Pour filling into the crust you removed from the oven. (if timed correctly) you should be finishing your filling just as the crust is finished preheating.
4.     Bake the cheesecake for 40 mins. You will know the cheesecake is done when the top has a light brown crisp all over.
5.     Serves 8-12. Enjoy!
Fresh out of the oven and perfectly baked on top.

Orange Citrus “Summer” Chicken Marinade


I had a blast creating this chicken marinade. Not only was it my first time making a marinade but it was my first time zesting a lemon.  This citrus chicken infusion is the perfect compliment to a simple salad of iceberg lettuce, pasta, white rice, or quinoa.

Orange Citrus Grilled Chicken
has been paired with simple iceberg lettuce, peaches,
lemon, and orange slices for a nice summer salad.
Orange Citrus “Summer” Chicken Marinade
Chicken tenders – thawed
2 peach slices
½ cup orange juice
1 lemon
1.     In a plastic freezer bag: ½ cup of orange juice, peaches slices, the zest of one lemon, and half a lemon (cut into aprox. 4 slices). Save the other half of the lemon as a garnish or dressing.
2.     Push all of the excess air out of the freezer bag and seal. Work the juices into the meat by lightly needing it for a few seconds. Place the marinade into the refrigerator for at least 30 mins but NO longer than 2 hours as the protein in the meant will begin to break down causing the meat to become mushy.
3.     Remove chicken from the marinade. Discard the marinade and grill or bake your chicken.
Birds Eye View of the Marinade


Monday, August 15, 2011

Home-made Mozzarella Sticks


Living with food allergies is not easy but that doesn’t mean it is impossible. When I first found out about my food allergies, I felt lost. Suddenly I was forced to look at my life and I realized that I never REALLY understood food. After 18 years of eating, cooking, and baking I didn’t really comprehend how spices, vegetables, fruits, and meats combined to make flavorful dishes. It was only after years of reading cookbooks, magazines, and watching hours upon hours of the Food Network that I finally starting piecing it all together.  
I am without a doubt a novice at best but the only way to understand food is to play with it. Just like any task, job, or hobby that you undertake in life you must practice.  The best advice I have learned is not to be afraid. You have to be willing to take the risks. 
Here is one of those risks:
Mozzarella Sticks over a Garden Inspired "Greek"Salad
Home-made Mozzarella Sticks (gluten free)
(makes 12 sticks)
2 cups of Corn Chex (ground fine)
2 eggs
1 cup of GF Flour*
12 pack of mozzarella sticks
handful of basil (fresh or dried)

1. You will need 3 “dipping pans” and a non-stick baking pan for the sticks. Arrange the bowls like an assembly line. In pan 1, place the flour. In pan 2, place the eggs (mix the yolk and white together). In pan 3, combine the basil and ground corn mix.  Spray the non-stick pan with some cooking spray.
2. Take one mozzarella stick and dip into the flour making sure to coat the sticks entirely.
3. Then dip into the egg mixture in pan 2. Makes sure the egg covered all of the flour. If you do not, the crumble will NOT stick correctly which will cause the cheese to leak out during baking.
4. Dip into the third pan (containing the Chex/Basil combo) and coat thoroughly.
5. Place coated mozzarella stick on the non-stick baking pan and repeat with remaining sticks.
6. Place clear saran wrap over the pan and place sticks in the freezer for at least 2 hours.
7. Preheat oven to 400 degrees. Remove the saran wrap from the pan and place in the oven for 10-12 mins. Enjoy!
 
Prepared Mozzarella Sticks before freezing.
Garden Inspired “Greek” Salad
Baby Spring salad mix
1 small Corn removed from cob
handful of Feta Cheese
Drizzle Olive Oil & Vinegar dressing.
**gluten free flour combination used in this recipe:
2/3 cup of Bob’s Red Mill all purpose flour (gluten free mix)
½ cup of Bob’s Red Mill quinoa flour (gluten free)

Sunday, August 14, 2011

Fried Zucchini Pasta


This is relatively quick and easy pasta to make as it doesn’t require a lot of ingredients or prep. The end result is filling, robust, and the smell of fresh basil will fill not only your kitchen but also your entire home.
My recipe is an adaptation of the “fried zucchini spaghetti” recipe found in Gwyneth Paltrow’s “my father’s daughter” cookbook. I’m really excited about this cookbook. It is filled with consumer friendly recipes and isn't produced by a professional chef. It offers a large variety of foods, tastes, and textures that an amateur cook can easily learn and adapt to. I’m REALLY looking forward to using this cookbook in the future.
“This is the food I cook for my family and friends, over and over again, the food that never fails me. This book is meant to channel the ethos of my father by sharing the greatest gifts that he imparted to me. Invest in what’s real. Clean as you go. Drink while you cook. Make it fun. It doesn’t have to be complicated. It will be what it will be. - Gwyneth Patrow

Gluten Free adaptation of Fried Zucchini Pasta
(serves 2-3)

1 cup Ancient Harvest quinoa elbow pasta
1 full zucchini
½ to 1 cup of gluten free flour combination*
¾ cup of parmesan cheese (processed or fresh)
Pinch of salt
Handful of basil leaves
1 tsp vegetable oil
1/3 cup vegetable oil
1TBSP olive oil
1.     Bring a pot of water to a boil and add 1 tsp vegetable oil and pinch of salt. Cook pasta until al dente.
2.     Cut zucchini into even slices. Heat 1/3 vegetable oil in medium skillet.
3.     Use GF flour to coat zucchini slices (front & back) and place as many slices as possible into the heated oil skillet. Cook until both sides are golden brown and remove from skillet. I suggest placing a paper towel on a plate to soak up any extra oil that may remain on the zucchini.
4.     Mix pasta, zucchini, ¾ cup of Parmesan, 1 TBSP olive oil, and basil leaves in a large serving bowl.
5.     Great served hot or cold. Enjoy.
*gluten free flour combination used in this recipe:
2/3 cup of Bob’s Red Mill all purpose flour (gluten free mix)
½ cup of Bob’s Red Mill quinoa flour (gluten free)

Saturday, August 13, 2011

Cinnamon & Cottage Cheese Eggs with Grill Glazed Peaches


Cinnamon & Cottage Cheese Eggs with Grill Glazed Peaches
(recipe follows picture)
As odd as it sounds this combination of flavors is absolutely delectable. You’ll think you are eating a decadent morning breakfast from a fine bed and breakfast. Plus, the preparation and cook time is not much longer than needed to cook a basic omelet.

Ingredients:
3-4 peach slices
2 eggs
3-4 tablespoons of 2% milkfat cottage cheese
2 tblsp cinnamon
pinch of salt and pepper
1.     In a small/medium frying skillet (omelet size) spray with cooking spray and set to medium heat. In a bowl mix the eggs, pepper, salt, and cinnamon together.
2.     Pour egg mixture into frying skillet and cook evenly on both sides until egg is cooked thoroughly 4-7 mins. Remove egg from skillet and place on plate unfolded.
3.     Using the same skillet used to cook the eggs reduce heat slightly and place your peaches in. The natural juice from the peaches will act as a non-stick agent. These juices will also caramelize to create the "glaze". You'll heat the peaches for 2-3 mins (be careful not to scorch) on one side before you will need to flip it. Once both sides are grilled, remove skillet from heat.
4.     Going back to your egg, place the cottage cheese on one half. Then flip the opposite side of the egg over top of the cottage cheese. It’ll look like a taco laying on the plate.
5.     Add your peaches to the side
6.     Enjoy. 

I'm in love...


I may very well be starting a new love affair and his name is Quinoa. Okay so maybe not so much an affair but a life long commitment to using this “super-grain” to make wonderfully gluten free dishes.
If you live in Indiana, namely southern, you know it is extremely difficult to access affordable health foods. I define “health foods” as organic, gluten free, free range, locally grown, etc. 

Several years ago I special ordered a new type of pasta (Ancient Harvest Quinoa) that wasn’t made of wheat, rice, or chickpea but rather something called quinoa.  Being a gluten/wheat intolerant individual I had the usual trepidations to trying something new that I didn’t know much about but I eventually gave in. WOW! I absolutely fell in love with its taste and by taste I mean, bland, like the taste of wheat based products. Was it possible? Had I found something that could completely replace wheat but actually taste like unbleached wheat?
As the years passed, I swore by Ancient Harvest Quinoa brand pastas and I wouldn’t use anyone else.I was so very thankful that I had found such wonderful pasta. As the taste, the flexibility, and overall uses for it evolved, I became more interested in learning about the quinoa grain as a flour.
The fact of the matter is that Quinoa, although it has been deemed the “super grain”, isn’t really a grain but a seed.  Quinoa belongs to the Plantae kingdom and is a grain-like edible seed that is closely related to beets, spinach, and tumbleweeds. This seed originates from the Andrean region of South America, where it has been domesticated and used for human consumption for 3-4 thousand years.
Quinoa in its natural state is very bitter tasting and has a rather tough coating making it unpalatable. Commercially processed versions found in North America are usually processed to remove this coating.
 
Bob’s Red Mill (BRM) is a company that specializes in flours of all types. I love them! I have used some variation of BRM flours, substitutes, or additives since the beginning of my wheat allergy diagnosis. This company has an extensive and extremely constrictive quality control process as they recognize how important it is that cross-contamination doesn’t occur.  Thursday evening I saw a small beacon of light shinning from the shelves of my local grocer; Bob’s Red Mill is now producing Quinoa Flour. HOORAY!!!!
I have been waiting for this day for SO long. I got so giddy; I could have easily bought out all of their stock.  All I could think of on my drive home from the store was all of the amazing things I could do if I could just get the “perfect” flour combination out of Quinoa. As soon as I got home I jumped on the net and starting researching and “refreshing” my knowledge of Quinoa properties. 
After doing a little bit of additional research, I was confident that I could come up with a flour combination that could be used to replace wheat flour and NOT have any of the weird twangs or nutty hints that are common to gluten free flours.  I don’t want to jump the gun because I have only tested a few recipes but I think I may be on the track to figuring out my “super flour”.
Keep tuned in for additional posts, which will include recipes and information utilizing this “super flour” and the beautiful, wonderful, Quinoa.