SWEET POTATOES!!!!! I love'em. These fries are versatile and are packed with so much natural flavors. Here is another quick and easy seasoning recipe. This one requires some marinating time, so its not a ready-set-eat meal but the wait is definitely worth it. By letting this marinate, the flavors are able to really seep into the sweet potato and instead of having a little bit of seasoning when you bake it, you experience all the flavor of the seasoning. I didn't create or pair a dipping sauce with these fries as I simply didn't see a need for one. They are fully capable of standing on their own.
 |
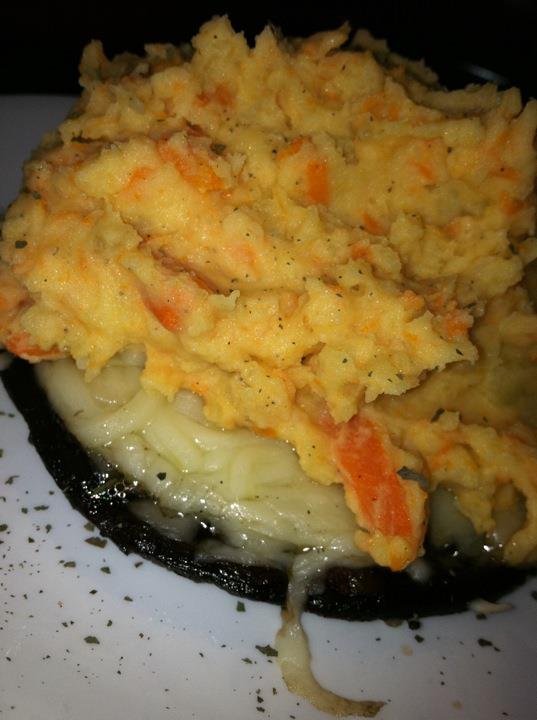
| Applesauce Sweet Potato Fries |
Ingredients (serves 3-6)
3 sweet potatoes
2/3 cup applesauce
½ TBSP cinnamon
½ TBSP pumpkin spice
pinch of salt
pinch of pepper
1. Peel and cut the potatoes into fry length strips.
2. In a large freezer bag, place applesauce, cinnamon, pumpkin spice, salt, and pepper in bottom of the bag. Place the cut potato strips in to the bag and press out all the excess air and seal. Move the potatoes around in the sealed bag making sure ALL the potatoes be covered with sauce, about 3-5 minutes.
3. Place sweet potatoes in refrigerator for at least 3 hours but no longer than 5.
After marinate (refrigeration):
4. Preheat oven to 450 degrees.
5. Line two cookie sheets with wax paper and spray the paper with nonstick cooking spray. Remove marinated fries from the refrigerator and arrange amongst the two cookie sheets making sure the fries do not touch.
6. Bake in the oven for 12-15 minutes then remove, flip fries, and bake for a remaining 15- 20 minutes. (**Note the fries may stick slightly to the wax paper due to the “sticky” applesauce, however, the cooking spray should help eliminate this.)
7. Remove from oven and allow the fries to cool for about a minute then immediately remove from pan. Best served warm but taste great cold. No need for a dipping sauce. Enjoy!